Embarking on DIY computer projects not only enhances your understanding of technology but also provides the flexibility to tailor your system to your exact needs. From building your own PC to optimizing it for gaming, this comprehensive guide covers all the essentials.
Building Your Own PC: A Beginner’s Guide
Why Build Your Own PC?
Customization: Choose components based on your specific needs and preferences.
Cost-Effectiveness: Building your own PC can be more economical than buying a pre-assembled one.
Learning Experience: Gain a deeper understanding of how each component works and interacts.
Step-by-Step PC Building Process
Planning and Research: Determine your budget and the purpose of your PC (gaming, work, multimedia). Research components that fit your needs and budget.
Selecting Components: Choose compatible components. Prioritize the CPU, GPU, motherboard, RAM, storage, power supply, and case.
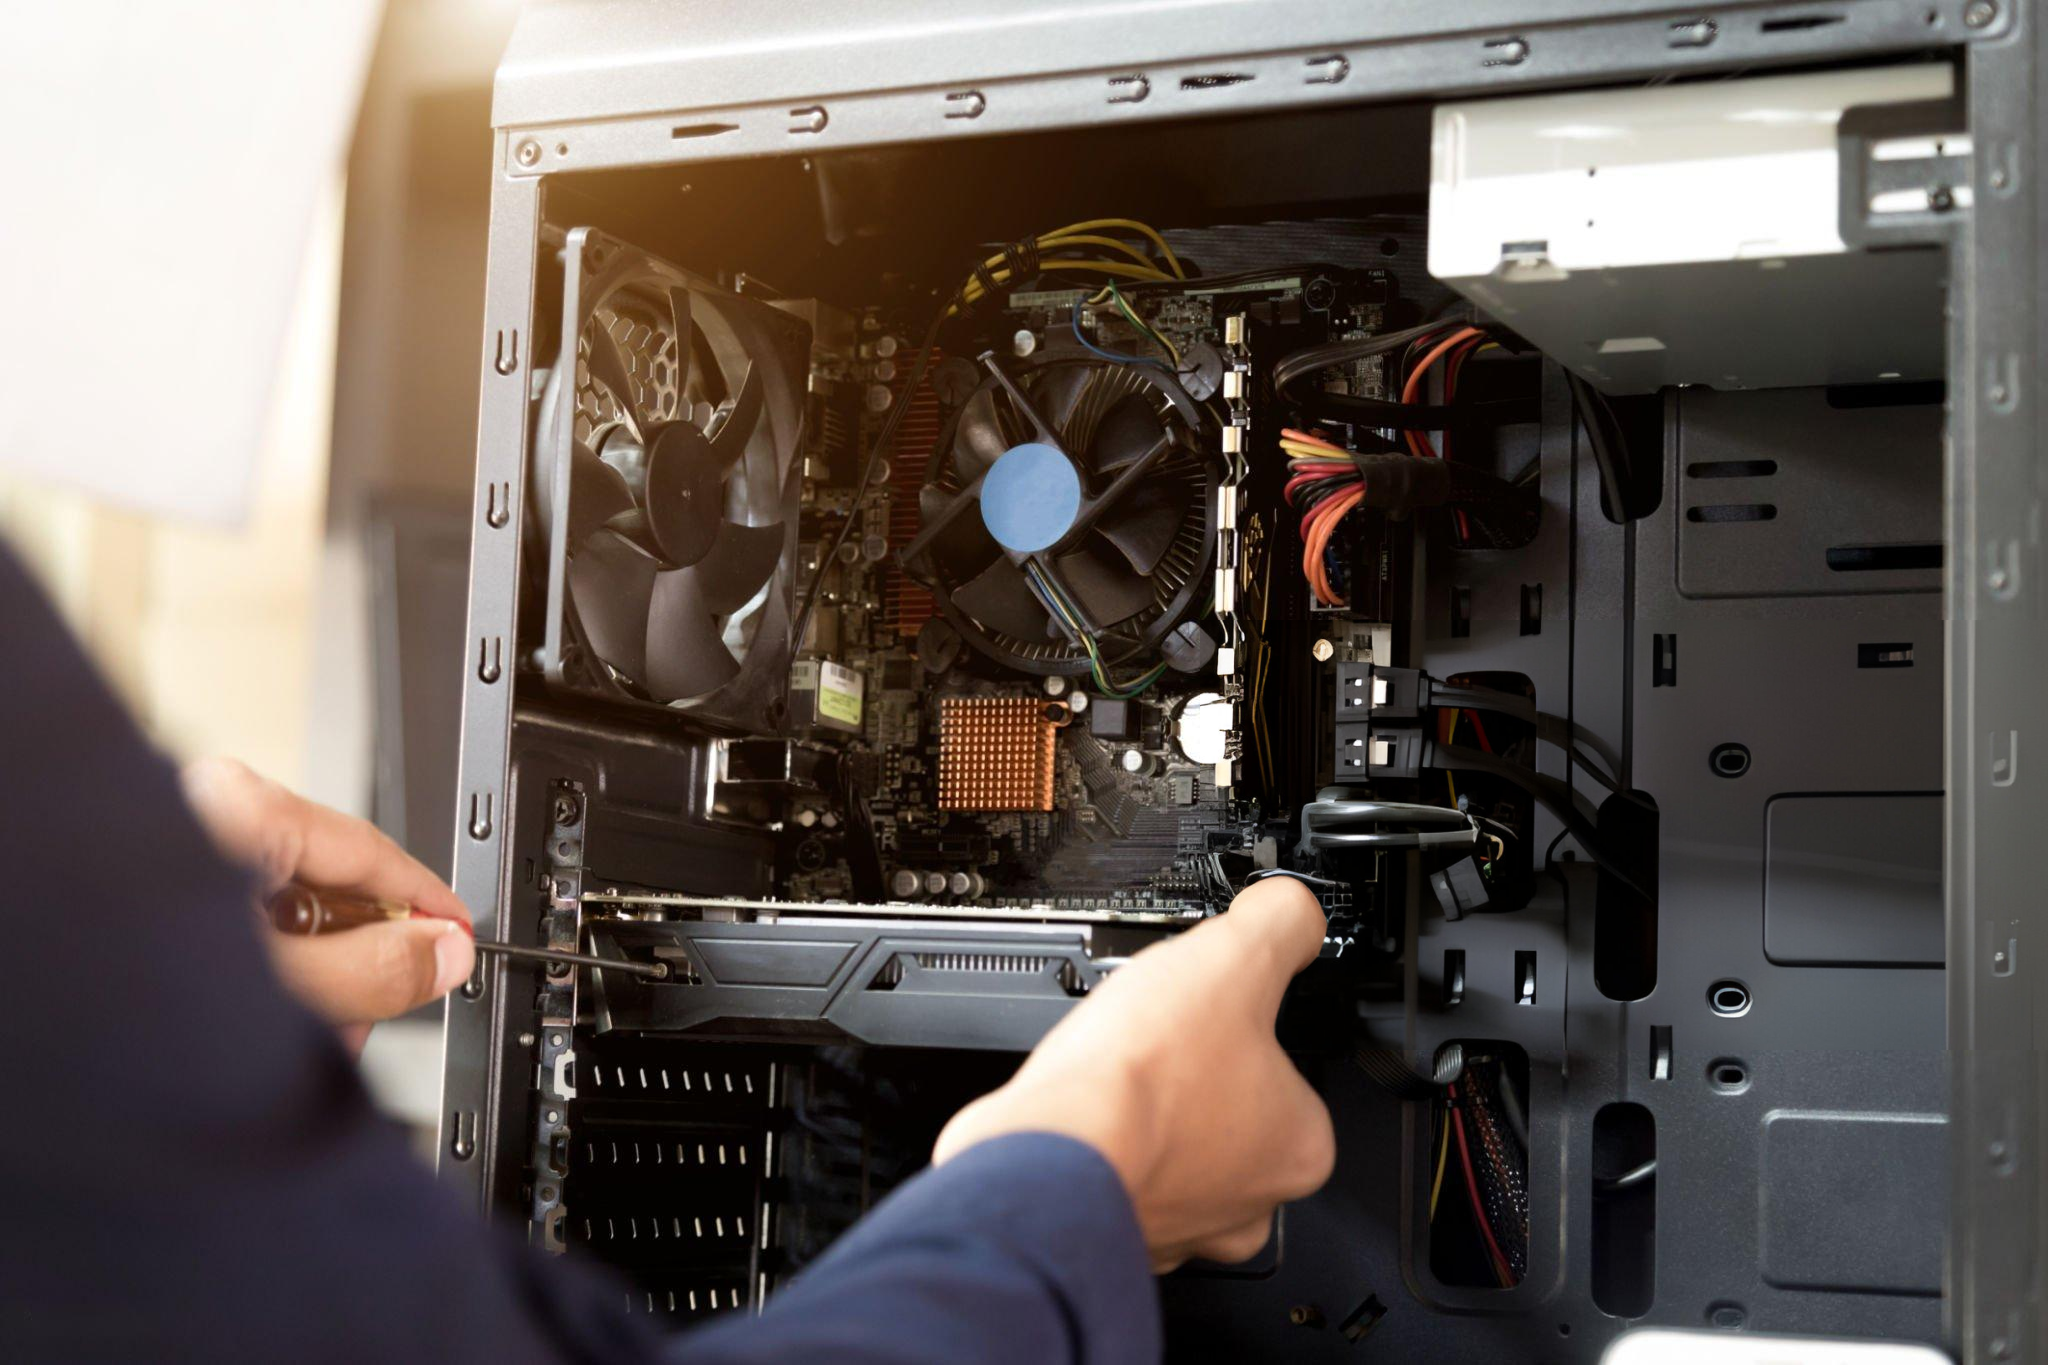
Assembling the PC: Follow a systematic approach to assemble your PC. Start with the motherboard, install the CPU, apply thermal paste, attach the cooler, insert RAM, mount the motherboard in the case, install the power supply, add storage drives, and finally the GPU.
Initial Boot and BIOS Setup: Power on the PC and enter the BIOS. Check if all components are detected and configure settings like boot order.
Installing the Operating System: Install your preferred OS, typically Windows or Linux, from a bootable USB drive or disc.
Driver Installation and Updates: Install necessary drivers for your motherboard, GPU, and any other components.
Component Selection Table
Component
Key Considerations
Tips
CPU
Core count, clock speed, compatibility with the motherboard.
Ideal for multitasking and gaming.
GPU
Performance for gaming and graphic-intensive tasks.
Crucial for gaming and video editing.
RAM
At least 16GB for gaming; more for content creation.
Higher RAM improves multitasking.
Storage
SSD for OS and applications; HDD for additional storage.
SSDs offer faster boot and load times.
Motherboard
Compatibility with CPU and RAM, expansion slots.
Ensure future upgradability.
Power Supply
Wattage rating higher than the total component requirement.
Opt for a reputable brand with efficiency ratings.
Case
Adequate space for components, cooling options.
Good airflow is critical for cooling.
DIY Computer Repairs: Dos and Don’ts
Basics of DIY Computer Repairs
Troubleshooting Skills: Learn to identify common problems through symptoms. For example, a system not powering on could indicate a PSU issue.
Replacing and Upgrading Components: Know how to safely replace or upgrade components like RAM, storage, or the GPU.
Dos and Don’ts for Safe Repairs
Do’s
Don’ts
Research and follow proper disassembly guides.
Skip backup before working on storage devices.
Use anti-static wristbands or mats.
Ignore compatibility of new components.
Keep track of all screws and components.
Force components into slots or ports.
Be gentle with cables and delicate parts.
Work in a dusty or damp environment.
Optimizing Your PC for Gaming
Maximizing Gaming Performance
Hardware Upgrades: Upgrade the GPU for better graphic performance, add more RAM for improved multitasking, and install an SSD for faster game load times.
Software Tweaking: Keep graphics drivers up to date for the best performance and compatibility with games. Adjust in-game settings to balance visual quality and performance.
Enhancing Game Settings
Resolution and Graphics Settings: Experiment with resolutions and settings like textures, shadows, and anti-aliasing to find the best balance between performance and visuals.
Overclocking: Overclock the CPU or GPU to squeeze out more performance, but be aware of the potential risks and increased heat output. Always monitor temperatures.
Maintenance and Cooling for Optimal Gaming
Maintenance Task
Description
Frequency
Dust Cleaning
Clean the interior and fans to ensure good airflow.
Every 3-6 months
Thermal Paste Application
Reapply thermal paste on the CPU and GPU for better heat transfer.
Every 2-3 years
Cooling System Check
Evaluate and upgrade cooling solutions (fans or liquid cooling) as necessary.
As needed
Conclusion
DIY computer projects offer a rewarding path to not only understanding and appreciating the workings of your PC but also ensuring that it is perfectly attuned to your needs, whether for everyday use, professional tasks, or gaming. With patience, research, and the right tools, you can build, repair, and optimize a PC that stands the test of time and delivers exceptional performance.